OpenEP2C5-C supports further expansion with various optional accessory boards for specific application. The modular and open design makes it the ideal for starting application development with ALTERA Cyclone II series FPGA devices. OpenEP2C5-C enables you to start your design with the Nios II processor easily and quickly.
The DVK601 supports a wide range of different core boards, therefore, some of the interfaces may be Not-Connected and useless while connecting to certain core board. For instance, while connecting to Core3S250E, the '? 8I/Os_3' and '? 8I/Os_4' are Not-Connected.
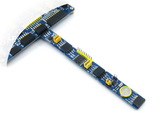
OpenEP2C5-C Development Board
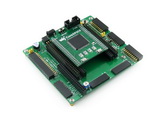
OpenEP2C5-C Development Board
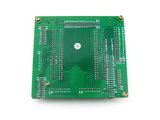
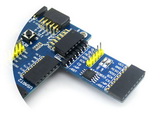
OpenEP2C5-C Development Board back view

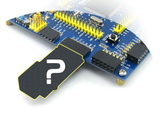
Mother Board DVK601
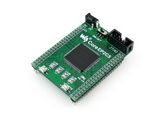
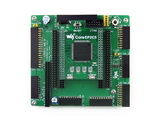
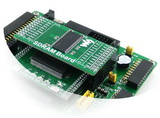
FPGA core board CoreEP2C5
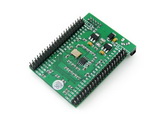
FPGA core board CoreEP2C5
Connecting to various peripherals
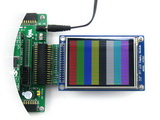
Connecting to 3.2inch Touch LCD
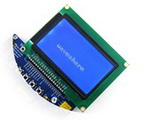
Connecting to LCD12864
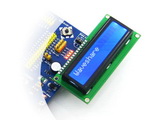
Connecting to LCD1602
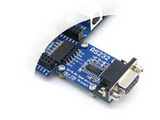
Connecting to RS232 Board
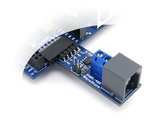
Connecting to RS485 Board
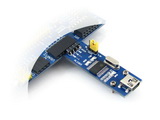
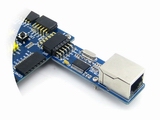
Connecting to USB UART Board
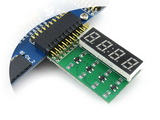
Connecting to 8 SEG LED Board
Connecting to 8 Push Buttons

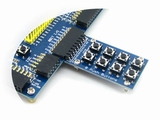
Connecting to 5 IO Keypad
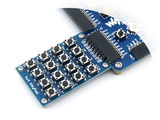
Connecting to 4x4 Keypad
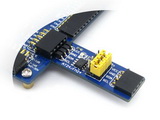
Connecting to EEPROM Board
Multi peripherals connected to one interface
Connecting to DataFlash Board
Connecting to Ethernet Board
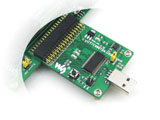
Connecting to CY7C68013A USB Board
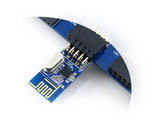
Connecting to NRF24L01 RF Board
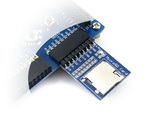
Connecting to Micro SD Storage Board
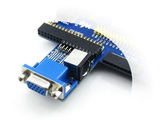
Connecting to VGA PS2 Board
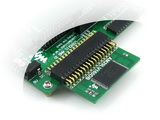
Connecting to SDRAM Board
Connecting to SDRAM Board
Connecting to any accessory board you need
Note: The OpenEP2C5-C does NOT integrate any programming/debugging function, a programmer/debugger is required.
The OpenEP2C5-C FPGA development board comes with various examples codes for the supported peripherals, which give you a quick start to develop your own application.
The OpenEP2C5-C FPGA development board integrates JTAG interface for programming/debugging.